After going through the redesign and migration process, I noticed a few minor differences when implementing some of the major onsite SEO elements in Webflow. Fortunately, I took note of these details so you don’t have to! This is by no means a complete checklist, but it can help point you in the right direction.
1. Meta titles and descriptions
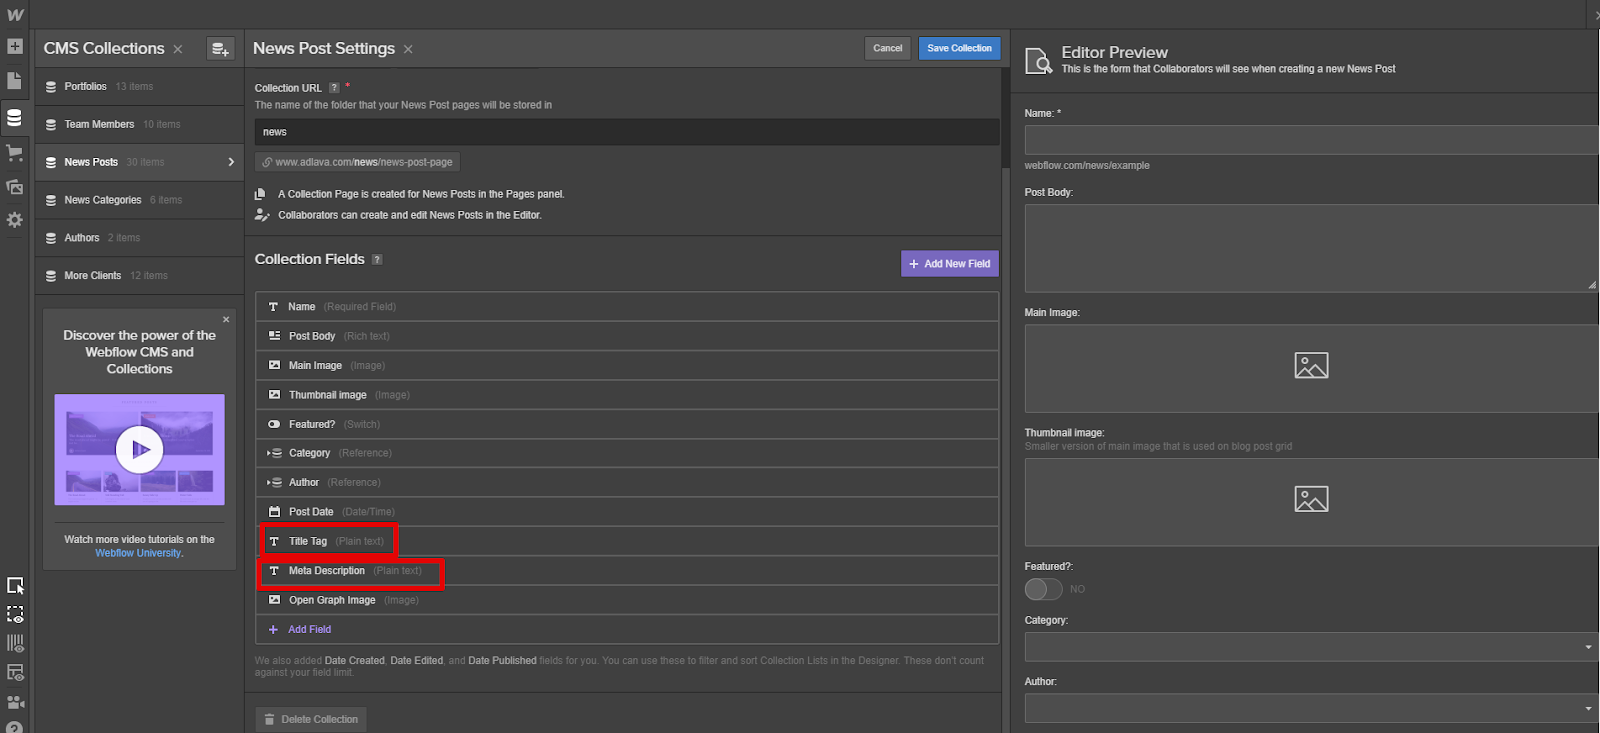
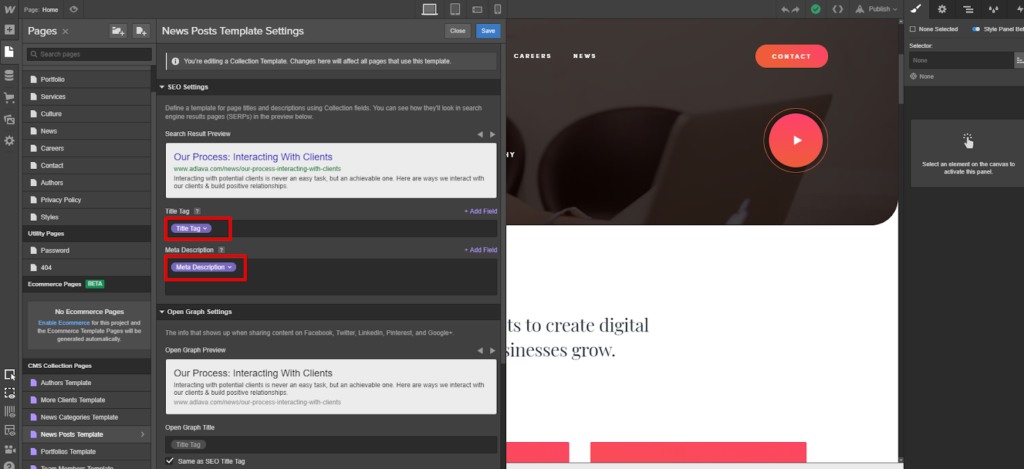
There’s not a huge difference between Webflow and most other major CMSs on the meta title and description front, but one important thing for designers to note is that you must add the fields and tie the corresponding options to the fields, otherwise they won’t show up in the source code, even if they’re filled out.
This is especially important if an editor will be adding the titles and descriptions rather than the designer.

2. Open Graph settings
For those who neglect their Open Graph settings, or allow WordPress to pick an image, make sure you specify images, titles, and descriptions in Webflow (or select the setting to match your SEO settings).
This is especially important on blogs, where WordPress normally uses the “Featured Image” if there is no Open Graph image specified. If you don’t specify an image in Webflow, your website won’t display a preview image when sharing to social media.
3. 301 redirects
No matter which CMS you use, there will likely be pages that change and/or go away when you redesign a website. To prevent users from landing on broken pages (and to minimize loss of backlink equity) remember to crawl your existing website and set up 301 redirects appropriately. This is handled natively in Webflow, and while there’s no CSV upload option, you can use rules to redirect groups of URLs sharing similar formats.
4. Robots.txt and sitemaps
Robots.txt and XML sitemaps are both handled natively in the Webflow CMS. Webflow University provides excellent resources for both, but the important thing to remember is that you don’t want your subdomain or development website crawled by search engines. Use your robots.txt to block or allow crawlers accordingly, and submit your XML sitemap as usual in Google Search Console.
5. Google Analytics and Google Tag Manager
As a personal advocate for Google Tag Manager, I would strongly recommend going the Tag Manager route and integrating your Google Analytics with Google Tag Manager. Webflow University provides detailed instructions on how to do this. If you opt to go the Google Analytics route, Webflow has a designated spot to simply plug in your Property ID.
6. Google and Bing verification
Pay special attention to your Google site verification if you normally verify by Google Analytics or Google Tag Manager detection.
As mentioned in the Webflow University links in the previous point, Google Tag Manager can be added to the custom code head and footer sections. While this will work to deploy Google Tag Manager, Google Search Console was not able to recognize the scripts when we used this method for site verification.
When migrating your website, you should use Webflow’s designated spot for the HTML tag method to keep your verification status in Google Search Console — even if you have Google Analytics and/or Google Tag Manager on your website. There is no designated spot for Bing Webmaster Tools verification, but we were able to verify the website by adding the HTML tag to the custom code section in the head. You could also avoid this by using the DNS option to verify your website instead.
7. Image alt text
If you manage websites where ADA compliance is a priority, or if you simply value accessibility, you’re probably familiar with the common alt text issues that come with WordPress. Specifically, the issue of image alt text not showing in the source code after adding it in the media library. Fortunately, we found alt tagging our images to be much more straightforward on Webflow.
Good user experience is good SEO
One of the main reasons Adlava decided to move to Webflow CMS was that it gave us more design flexibility and allowed us to implement website changes much quicker and more efficiently.
Hearkening back to the SEO basics, good user experience is good SEO. Remember that Google’s ultimate goal is to serve results that are useful to users when they perform a Google search. If you’re sacrificing user experience for a specific technical element, that’s not good SEO. The end goal is to create useful web content. The above tips should help you navigate the technical implementation side of things — the quality content is up to you.